转载自:android 分享文件功能实现
PHP Excel转PDF(使用OpenOffice)
2.下载Zip压缩包,从压缩包里找到 DocumentConverter.py
3.将 DocumentConverter.py 放在 soffice.exe 所在的同一个 OpenOffice 文件夹中,可能是 C:\Program Files (x86)\OpenOffice 4\program
4.将 OpenOffice 作为服务启动:
cd C:\Program Files (x86)\OpenOffice 4\program

quickstart

soffice "-accept=socket,port=2002;urp;"
5.从 PHP 运行:
$path = 'C:\Program Files (x86)\OpenOffice 4\program\\';

$input = __DIR__ . 'test.xls';
$output = __DIR__ . 'test.pdf';

$m = '"';
$n = '" "';
$cmd = $m.$path.'python'.$n.$path.'DocumentConverter.py'.$n.$input.$n.$output.$m;
exec($cmd);
参考链接:
How do I convert RTF to PDF from my PHP web page using OpenOffice?
Android使用EasyExcel操作Excel
1.添加依赖
// Excel
implementation 'org.apache.poi:poi:3.17'
implementation 'org.apache.poi:poi-ooxml:3.17'
implementation 'org.apache.xmlbeans:xmlbeans:3.1.0'
implementation 'stax:stax:1.2.0'
implementation 'com.alibaba:easyexcel:2.2.10'
2.实现一个简单的java.awt.Color类 继续阅读Android使用EasyExcel操作Excel
Cocos Creator 地图缩放移动相关文章
SQLite3 导入导出SQL语句
导出整个数据库
sqlite3 main.db .dump > main.sql
导出一张表
sqlite3 main.db ".dump table" > table.sql
导入
sqlite3 main.db < main.sql
Gson泛型封装
原理:搞定Gson泛型封装
首先,推荐大家用一下 AndroidUtilCode,是一个很好用的工具类库。
如果你已经使用上面提到的工具类库,可以这样用:
import com.blankj.utilcode.util.GsonUtils;

GsonUtils.getListType(clazz)
如果没使用的话,可以这样用:
import com.google.gson.reflect.TypeToken;

TypeToken.getParameterized(List.class, clazz).getType();
【转】使用Python轻松批量压缩图片
转载自:使用Python轻松批量压缩图片
在互联网,图片的大小对一个网站的响应速度有着明显的影响,因此在提供用户预览的时候,图片往往是使用压缩后的。如果一个网站图片较多,一张张压缩显然很浪费时间。那么接下来,我就跟大家分享一个批量压缩图片的方法,只需几行python代码,即可轻松实现图片压缩。
压缩算法
用到PIL库,PIL是Python平台事实上的图像处理标准库,支持多种格式,并提供强大的图形与图像处理功能。使用如下命令安装:
pip install pillow
代码如下:
from PIL import Image
import os,shutil

#图片压缩批处理
def compressImage(srcPath,dstPath):
    for filename in os.listdir(srcPath):
        #如果不存在目的目录则创建一个,保持层级结构
        if not os.path.exists(dstPath):
                os.makedirs(dstPath)

        #拼接完整的文件或文件夹路径
        srcFile=os.path.join(srcPath,filename)
        dstFile=os.path.join(dstPath,filename)

        # 如果是文件就处理
        if os.path.isfile(srcFile):
            try:
                #打开原图片缩小后保存,可以用if srcFile.endswith(".jpg")或者split,splitext等函数等针对特定文件压缩
                sImg=Image.open(srcFile)
                w,h=sImg.size
                dImg=sImg.resize((int(w/2),int(h/2)),Image.ANTIALIAS)  #设置压缩尺寸和选项,注意尺寸要用括号
                dImg.save(dstFile) #也可以用srcFile原路径保存,或者更改后缀保存,save这个函数后面可以加压缩编码选项JPEG之类的
                print (dstFile+" 成功!")
            except Exception:
                print(dstFile+"失败!")

        # 如果是文件夹就递归
        if os.path.isdir(srcFile):
            compressImage(srcFile, dstFile)
# 遍历压缩图片
compressImage("./finish","./compress")
【转】Python批量重命名
转载自:python批量重命名
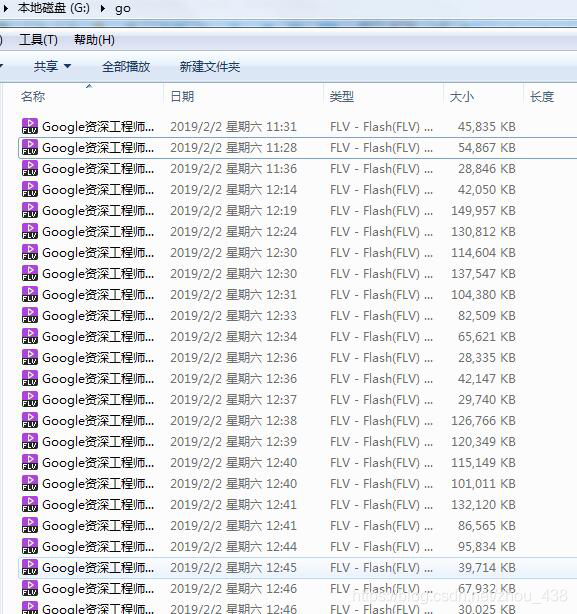
有这样一个需求,自己刚从b站下载的视频,但是文件名字看起来不好,想批量修改,不想一个一个的改,太麻烦
before:
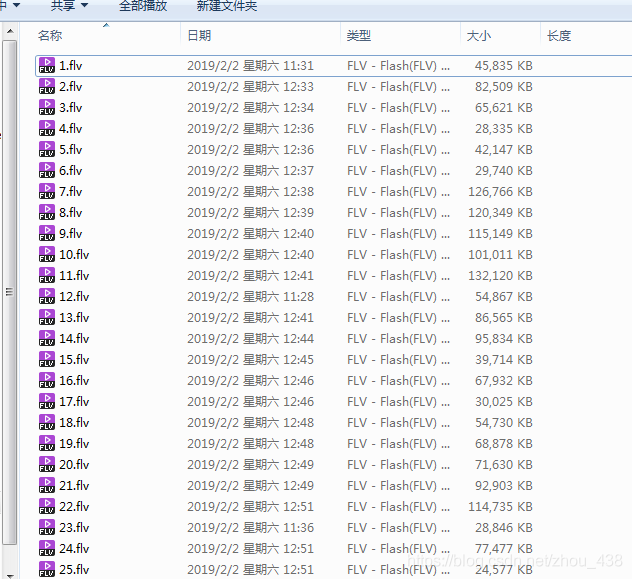
after:
代码:
import os
path = 'G:/go'
num= 1
for file in os.listdir(path):
    before = os.path.join(path,file)
    after = os.path.join(path,str(num)+".flv")
    os.rename(before,after)
    num+=1
获取Android设备上的USB设备
import android.content.Context;
import android.os.storage.StorageManager;

import java.lang.reflect.Method;

public class USBUtil {

    public static String getUSBPath(Context context) {
        StorageManager storageManager = (StorageManager) context.getSystemService(Context.STORAGE_SERVICE);
        try {
            // 通过反射调用getVolumeList,获取所有挂载的设备(内部sd卡、外部sd卡、挂载的U盘)
            Method getVolumeListMethod = StorageManager.class.getMethod("getVolumeList");
            Object[] volumes = (Object[]) getVolumeListMethod.invoke(storageManager);

            Class<?> storageVolumeClazz = Class.forName("android.os.storage.StorageVolume");
            // 通过反射调用getPath、isRemovable
            Method getPathMethod = storageVolumeClazz.getMethod("getPath");
            Method isRemovableMethod = storageVolumeClazz.getMethod("isRemovable");
            if (volumes != null && volumes.length > 0) {
                for (Object volume : volumes) {
                    String path = (String) getPathMethod.invoke(volume); // 获取路径
                    boolean isRemovable = (boolean) isRemovableMethod.invoke(volume);// 是否可移除
                    if (isRemovable) {
                        return path;
                    }
                }
            }

        } catch (Exception e) {
            e.printStackTrace();
        }
        return "/";
    }
}
参考链接:
获取Android设备上的所有存储设备
Android Fragment 重叠问题
缘起
首先,笔者的主Activity中包含了多个Fragment,通过show、hide来切换展示。当笔者切换到其他的APP,操作一段时间后,返回到当前APP,有很大几率会出现Fragment重叠现象。
缘由
首先,在Activity的生命周期中,当Activity不在前台展示时,如果此时其他的APP需要使用内存,系统会杀掉该APP的进程,当用户重新进入该APP时,系统会重新创建Activity。
Activity不在前台展示时会保存Fragment的状态,当系统重新创建Activity时会恢复之前保存的Fragment的状态。
缘解
方案一:在Activity的onCreate方法中判断savedInstanceState是否为空,不为空则使用系统保存的Fragment。
public class MainActivity extends AppCompatActivity {
    Fragment fragment;

    @Override
    protected void onCreate(@Nullable Bundle savedInstanceState) {
        super.onCreate(savedInstanceState);
        if (savedInstanceState != null) {
            fragment = getSupportFragmentManager().findFragmentByTag("fragment");
        } else {
            fragment = new Fragment();
            getSupportFragmentManager().beginTransaction().add(R.id.frameLayout, fragment, "fragment").commit();
        }
    }
}
方案二:在Activity的onCreate方法中,调用super方法时直接传null,不使用保存的状态。
@Override
protected void onCreate(@Nullable Bundle savedInstanceState) {
    super.onCreate(null);
}
参考资料:
Android fragment 重叠问题——通过hide,show方式导致的解决方法